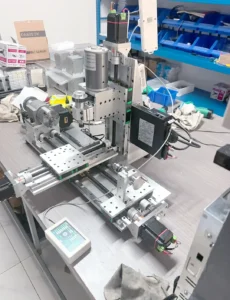
As the core component of the feed transmission chain of CNC machine tools, the assembly method and accuracy of the linear rails have a direct impact on the positioning accuracy of the machine tool and the smoothness of the feed axis interpolation operation. Next, we will explore in depth how to properly install the linear rails and linear bearing block. This key topic should not be missed!
Importance of linear rails and linear bearing block installation
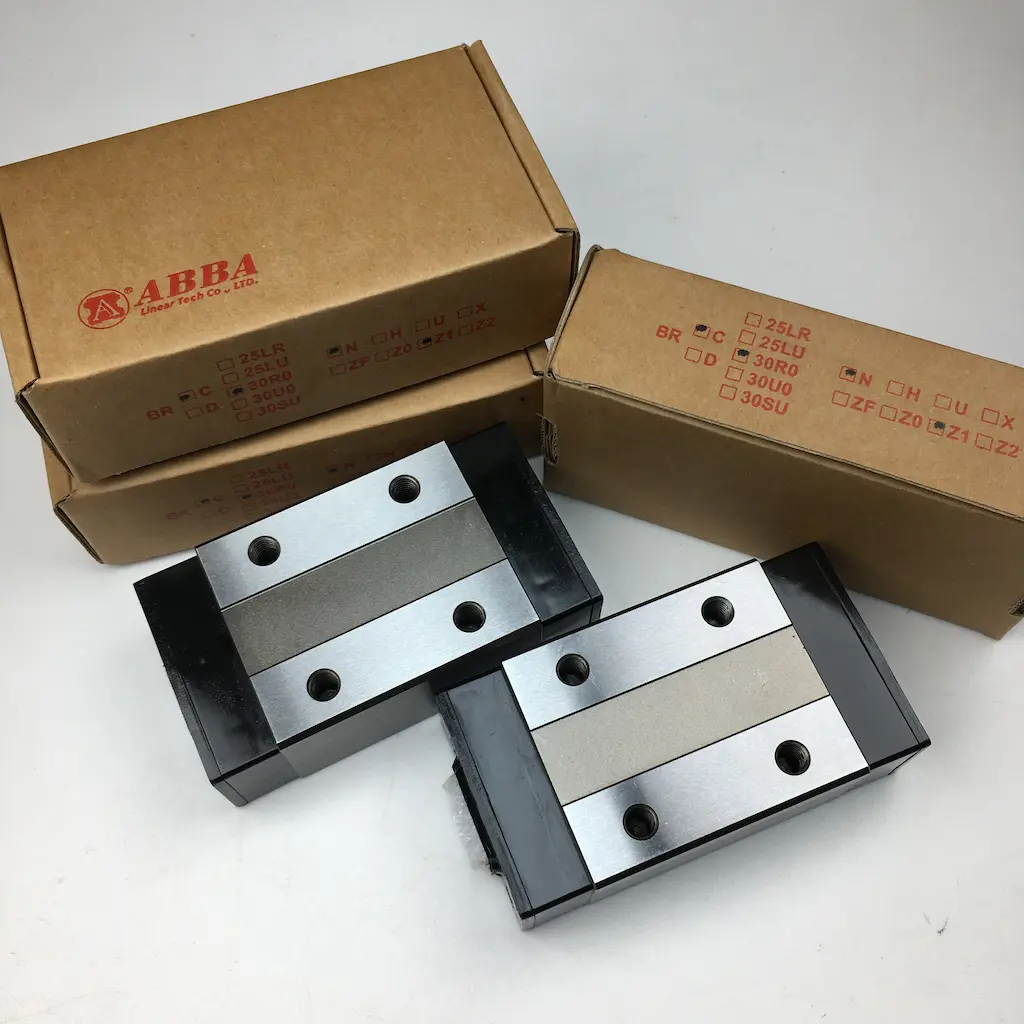
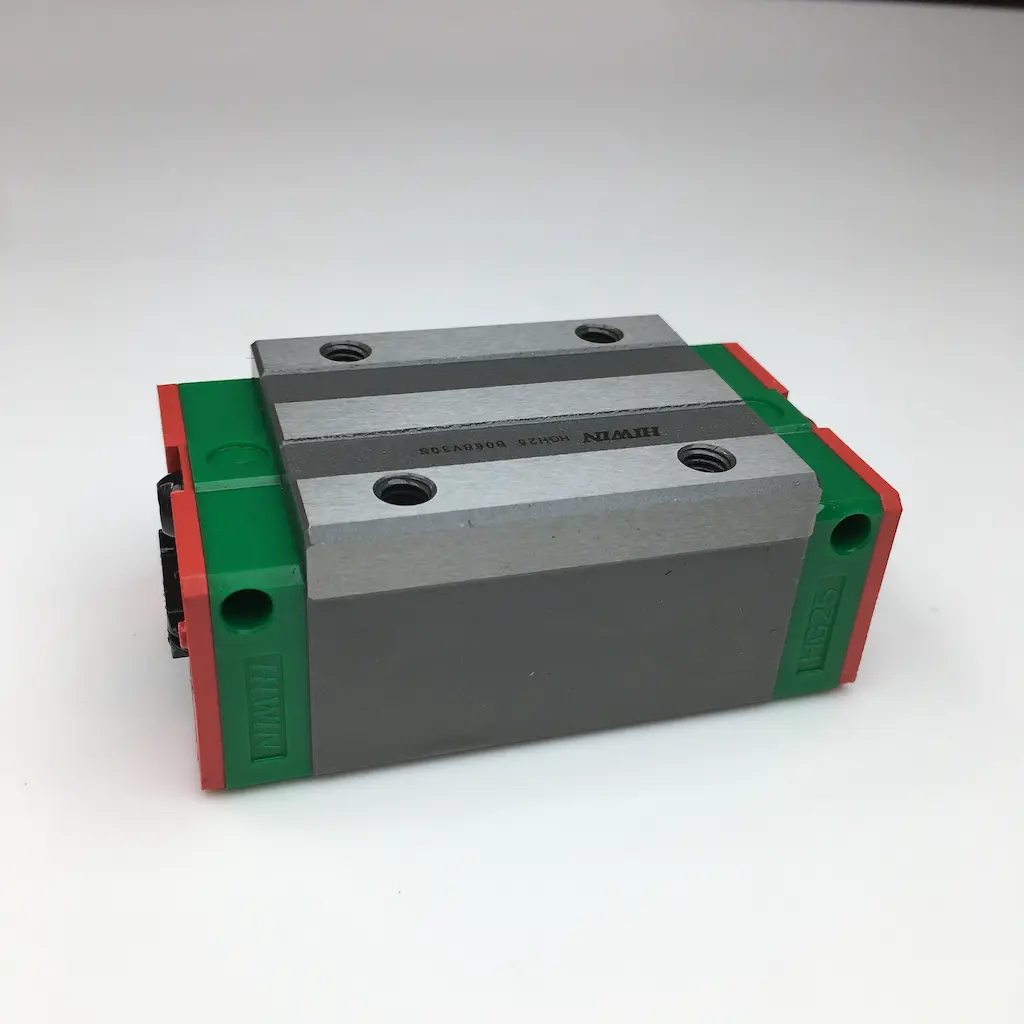
The linear rails are a key component of CNC machine tools, and their installation directly affects the positioning accuracy and running smoothness of the machine tool. Different installation modes and fixing methods need to be flexibly selected according to the machine structure and load direction. Since linear rails can withstand loads from all directions, in actual applications, we can flexibly configure linear rails according to the specific structure of the machine and the direction of the workload it bears.
Linear rails installation mode
1.1 ◇ Multi-mode selection When installing linear rails, we may encounter multiple usage modes, including:
Three-axis use A: Applicable to specific situations, the specific usage needs to be adjusted according to actual conditions.
Three-axis use B: Provide another installation option for different application requirements.
Horizontal use: Ensure that the linear rails work stably on a horizontal plane.
Two-axis relative use: This mode is suitable for occasions that require relative movement.
Reverse use: The linear rails can be installed in reverse as needed to meet special requirements.
Wall-mounted use: Install the linear rails on the wall to save space while maintaining stability.
Inclined use: Install the linear rails on an inclined surface to adapt to special working environments.
Vertical use: Ensure that the linear rails can work smoothly in the vertical direction.
There are many installation modes for linear rails, including three-axis use A and B, horizontal and reverse use, wall-mounted and inclined use, which can flexibly adapt to different application scenarios.
1.2 ◇ Various fixing methods There are many ways to fix linear rails, and the common ones include:
Bolt fixing: The linear rails are firmly fixed to the base by bolts.
Fixture fixing: Use special fixtures to simply and conveniently fix the linear rails.
Welding fixation: For applications that require long-term stability, the linear rails can be connected to the base by welding.
According to different usage scenarios and needs, we can choose the appropriate fixing method to ensure the stability and durability of the linear rails. Common fixing methods include bolts, clamps and welding. Different usage scenarios require the selection of appropriate fixing methods to ensure the stability and durability of the linear rails.
Fixing only on the positioning surface: Bolts or other fixing methods are used at specific positions to ensure that the linear rails are fixed only on the positioning surface.
Thrust screw fixing: The principle of the thrust screw is used to firmly fix the linear rails to the base.
Pressing surface fixing: By applying pressure, the linear rails and the base are tightly combined to achieve a fixing effect.
Double fixing of table rail: The table rail design is adopted to provide a double fixing effect to ensure the stability and durability of the linear rails.
Pin fixing: The linear rails are connected to the base through pins to achieve a firm fixing effect.
Fixing in a mechanical shock and vibration environment: For situations where there is shock and vibration in the machine, choose a suitable fixing method to ensure the stability of the linear rails.
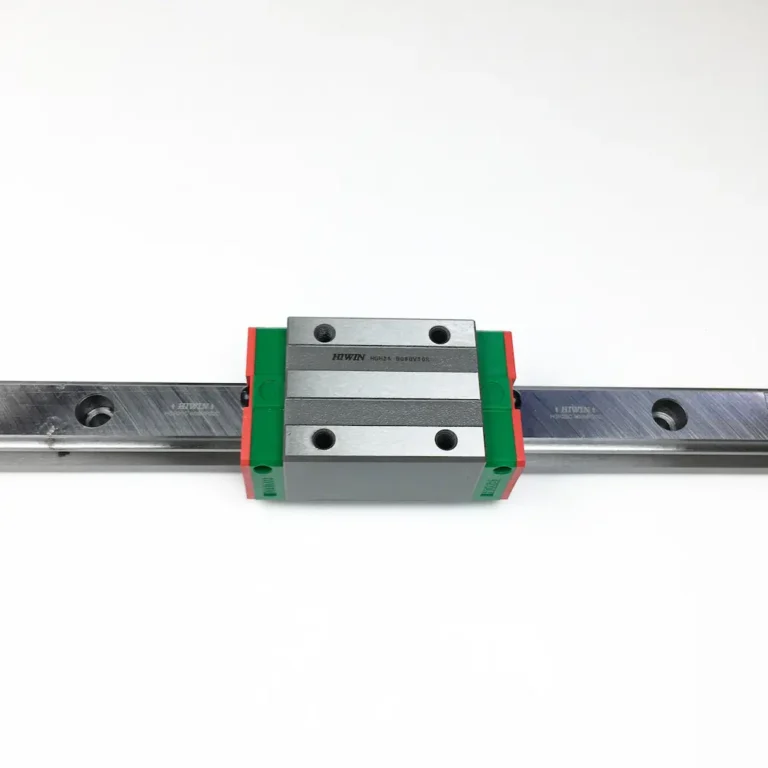
Linear rails and linear bearing block installation steps
Linear rails installation steps The installation steps of the linear rails are as follows:
First, make sure that the installer wears new gloves and thoroughly removes burrs, dents and dirt on the installation reference surface.
Next, place the linear rails gently on the bed, and then tighten the assembly screws to ensure that the linear rails fit tightly with the mounting surface.
Please note that the reference surface of the bed should be in contact with the side of the linear rails with the marking line.
After that, tighten the positioning screws of the linear rails in sequence to ensure that the linear rails are tightly connected to the steering mounting surface.
During the installation process, ensure that the reference surface is clean and tighten the screws in sequence to ensure that the linear rails fit tightly with the mounting surface.
When using a torque wrench, tighten the assembly screws from the center to the end.
Finally, gradually knock the special dust cover for the linear rails into the assembly screw hole until it is flush with the upper surface of the linear rails.
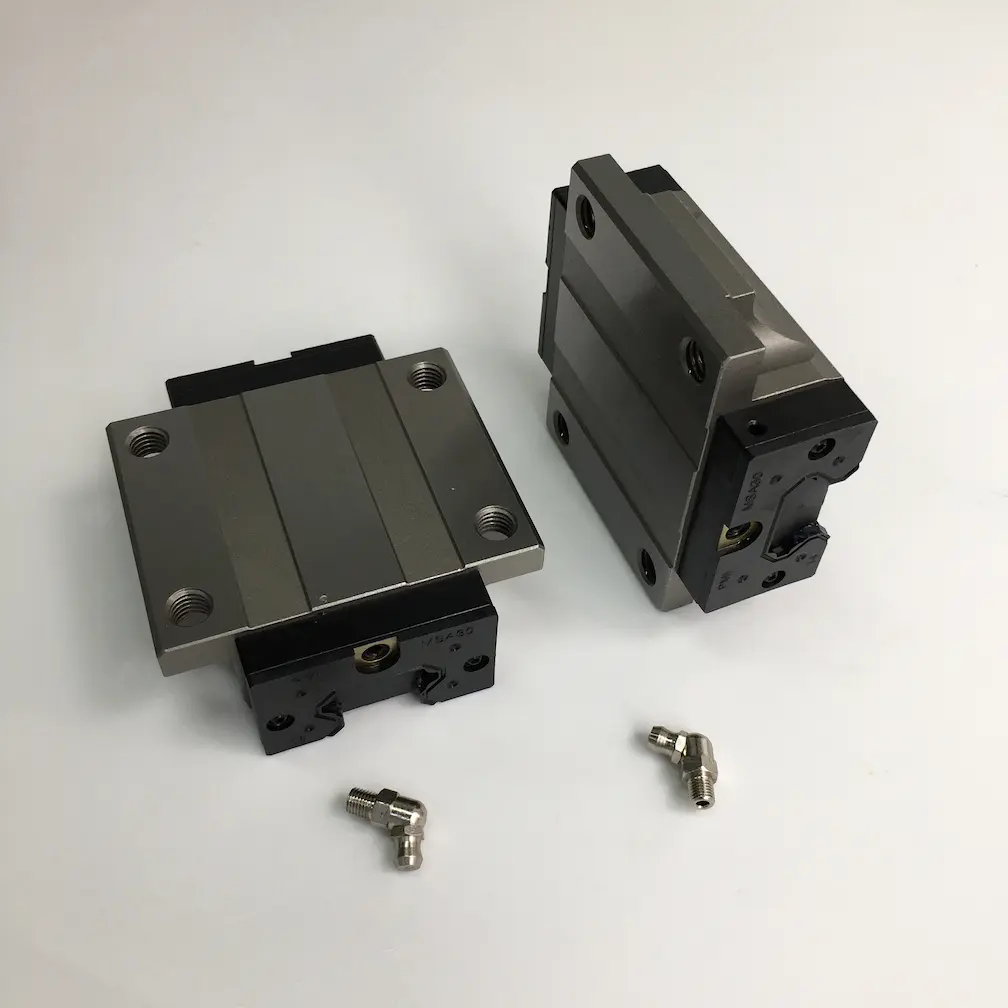
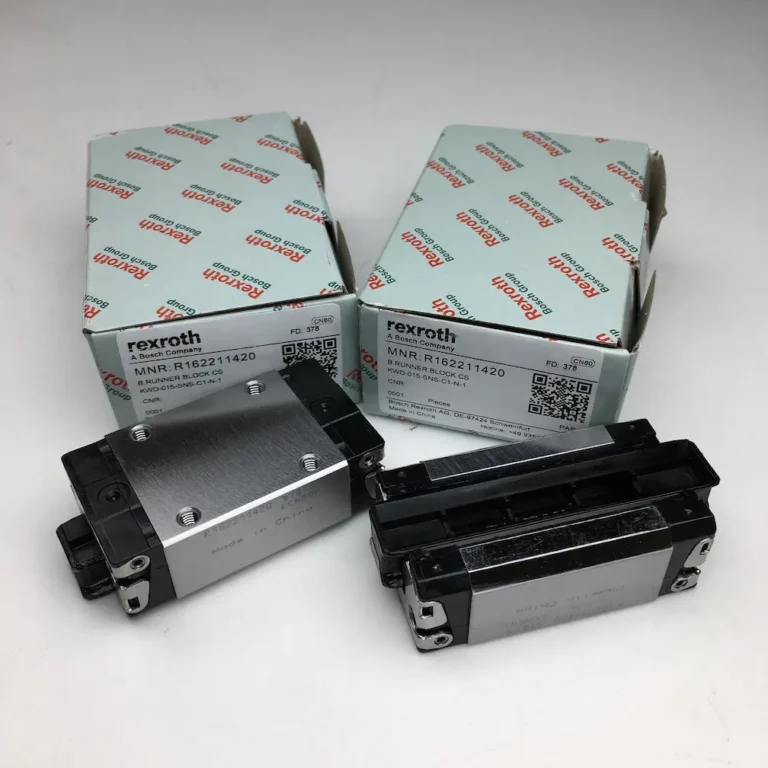
Linear bearing block installation process
The installation process of the linear bearing block is as follows:
The machine tool installation master also needs to wear new gloves.
Then, slowly place the workbench on the linear bearing block and tighten the screws preliminarily.
The reference side of the linear bearing block is in contact with the reference surface of the side of the workbench through the positioning screws, thereby completing the positioning of the workbench.
The installation of the linear bearing block requires placing the workbench on the linear bearing block and contacting its reference surface with the reference surface of the workbench through the positioning screws, and then tightening the screws in diagonal order to ensure balanced fixation.
Finally, tighten the assembly screws on the reference side and the passive side to complete the installation.
Please note that when tightening the assembly screws, follow the order shown by the diagonal lines to ensure that the table can be fixed evenly. This method not only helps to ensure the straightness of the linear rails, but also eliminates the need to process the positioning pins for fixing, which significantly shortens the installation time.